Unwrapping the Joy: Easy & Elegant Mini Christmas Tarts for a Decadent Holiday
The holiday season is a magical time, filled with sparkling lights, joyful gatherings, and, of course, an abundance of delicious treats. While the thought of elaborate holiday baking can sometimes feel daunting amidst the hustle and bustle, imagine creating a dessert that looks incredibly fancy yet is surprisingly simple to make. Enter the delightful world of mini Christmas tarts – specifically, our decadent chocolate delights! These aren't just any tarts; these are your secret weapon for stress-free holiday entertaining, offering all the richness and elegance without hours spent in the kitchen.
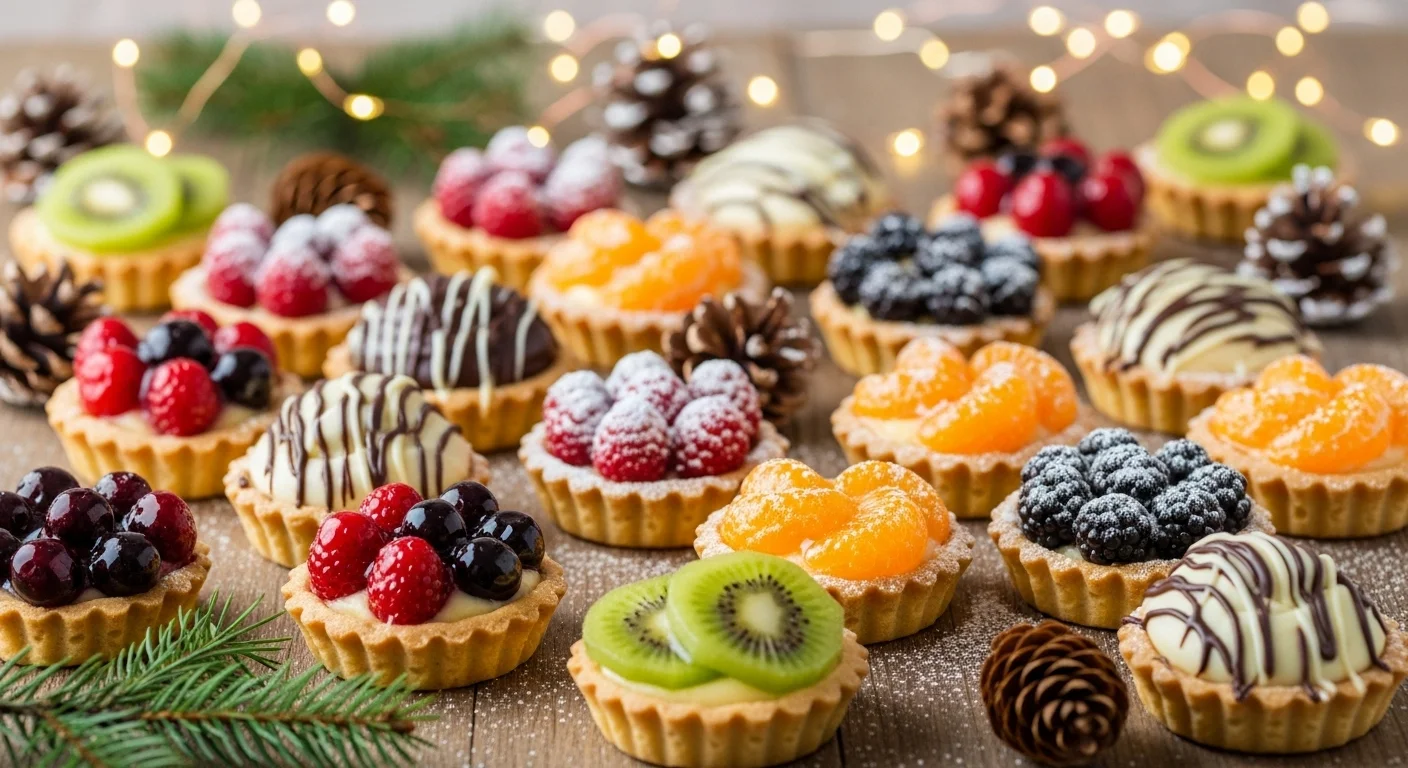
Our focus today is on making truly amazing, easy Christmas dessert tarts that kids will adore helping with, and adults will rave about. Picture a delicate, buttery crust cradling a velvety smooth, rich dark chocolate ganache, all crowned with festive flourishes. These mini treats are small in size but explode with big holiday flavor, making them ideal for parties, dessert trays, or even charming edible gifts. Let's dive into how you can bring these luxurious yet
stress-free holiday baking simple mini tarts kids will love to your table this season.
The Irresistible Appeal of Mini Tarts: Elegance in Every Bite
There's something inherently charming about miniature desserts. They offer instant portion control, reduce mess, and provide a sophisticated touch to any dessert spread. For Christmas, mini tarts are simply perfect. Each bite-sized treat is a little package of joy, capturing the essence of the holidays without overwhelming your guests. They elevate your dessert presentation, making it look like you've spent hours slaving away, when in reality, the process is wonderfully straightforward.
Beyond their visual appeal, mini tarts are incredibly versatile. While our star today is the rich chocolate ganache, the concept of a simple crust filled with a delicious concoction can be adapted to various holiday flavors, from classic pecan to vibrant cranberry or creamy eggnog. However, for sheer decadence and widespread appeal, you can't go wrong with chocolate. These individual portions mean less fuss with slicing and serving a large pie, allowing you more time to enjoy the festivities with your loved ones. Plus, they're fantastic for packing into gift boxes for neighbors or teachers, spreading edible cheer.
Crafting the Decadent Core: A Silky Dark Chocolate Ganache
At the heart of these amazing easy Christmas dessert tarts lies a filling so rich and smooth, it feels like pure indulgence: the dark chocolate ganache. Don't let the fancy name intimidate you; ganache is surprisingly simple to create, requiring just two main ingredients: chocolate and cream.
The magic truly happens with your choice of chocolate. While milk chocolate will result in a sweeter filling, opting for dark chocolate – ideally around 54.5% Cacao – provides a profound depth of flavor that is neither overly sweet nor bitter. This percentage melts beautifully and delivers that quintessential rich, deep chocolate experience. However, feel free to use semi-sweet, bittersweet, or even high-quality chocolate chips if that's what you have on hand. The key is quality; a good chocolate will always translate to a better ganache.
Here's how to achieve that perfect ganache:
- Heat the Cream: In a small saucepan or microwave-safe bowl, gently heat heavy cream until it just begins to bubble around the edges, but do not let it come to a rolling boil.
- Melt the Chocolate: Place your chosen dark chocolate (chopped into small pieces or chips) and a tiny pinch of salt into a medium mixing bowl. The salt is a crucial, often overlooked, ingredient that subtly enhances the chocolate's flavor and prevents the ganache from tasting too sweet.
- Combine and Whisk: Pour the hot cream directly over the chocolate and salt. Let it sit undisturbed for 2-3 minutes to allow the heat from the cream to begin melting the chocolate. Then, starting from the center and working your way outwards, gently whisk until the mixture is completely smooth, glossy, and uniform. There should be no lumps of chocolate remaining.
This simple technique yields a luscious ganache that will firm up beautifully when chilled, creating the ideal velvety filling for your tarts. For more in-depth guidance on preparing this core component, check out our companion article:
Make-Ahead Christmas Tarts: Rich Dark Chocolate Ganache Recipe.
Mastering the Crust: Simplicity for a Flawless Foundation
The beauty of these easy Christmas dessert tarts lies in their flexibility, particularly when it comes to the crust. While a homemade pie crust offers a certain charm, the holiday season is all about making things simpler without sacrificing quality. This is where store-bought pie crust truly shines. It’s a fantastic time-saver that doesn't compromise on taste or texture, providing that delightful buttery base.
For those who prefer a different kind of ease, consider an Oreo cookie base or a graham cracker crust. These no-bake options are super flexible, quick to prepare, and add another layer of flavor that complements the chocolate ganache beautifully.
If you're using store-bought pie crust dough, here’s how to prepare your mini shells:
- Roll and Cut: On a lightly floured surface, carefully roll out the refrigerated pie crust dough to about ¼ inch thick. Using a 4½ inch round cookie cutter (or a clean glass with a similar diameter), cut out circles. You should be able to get about 12 circles from one standard sheet.
- Line the Pan: Gently press each dough circle into the sections of a mini tart pan or mini muffin tin, molding it to fit the contours. You want the edges to stand slightly proud.
- Chill for Stability: For best results and to prevent excessive shrinking during baking, place the tart pan with the lined shells into the refrigerator for at least 20 minutes. This helps the butter in the dough firm up.
- Blind Bake (Optional, but Recommended): While some recipes skip this, a quick blind bake ensures a crisp, golden crust that won't become soggy when filled. Prick the bottom of each shell with a fork, then bake in a preheated oven (usually around 375°F / 190°C) for 10-12 minutes, or until lightly golden brown. Let them cool completely on a wire rack before filling.
A perfectly baked crust is the unsung hero, providing a delicate counterpoint to the rich ganache.
Decorating Your Holiday Masterpieces: Fun for All Ages
This is where the "elegant" meets "easy" and "kid-friendly" in the most delightful way! Once your ganache has set within the cooled tart shells (which typically takes about 4 hours in the refrigerator), it's time to unleash your creativity. The beauty of these mini tarts is how simple decorations can transform them into stunning festive treats.
Think beyond simple sprinkles, though they are always a good choice! Consider some of these festive ideas:
- Mini Chocolates: Just like the adorable little penguins mentioned in the reference, seasonal mini chocolates (like Santa, snowman, or star shapes) found in grocery aisles are perfect.
- Edible Glitter & Sprinkles: A dusting of edible gold or silver glitter, or a festive mix of red, green, and white sprinkles, adds instant sparkle.
- Fresh Berries: A single perfect raspberry or a few pomegranate arils provide a beautiful color contrast and a touch of fresh tartness.
- Whipped Cream: A dollop of freshly whipped cream, perhaps with a touch of vanilla or peppermint extract, can elevate the dessert.
- Crushed Candy Canes: For a classic Christmas flavor, sprinkle finely crushed candy canes over the ganache.
- Cocoa or Powdered Sugar: A light dusting through a stencil (like a star or snowflake) creates a sophisticated, understated look.
- Chocolate Shavings: Use a vegetable peeler on a block of chocolate to create delicate curls.
This decorating stage is fantastic for involving children. Lay out a variety of toppings and let their imaginations run wild. They’ll love personalizing their own mini tarts, making the process even more memorable and enjoyable for the whole family.
Make-Ahead & Storage Tips for a Stress-Free Holiday
One of the greatest advantages of these easy Christmas dessert tarts is their make-ahead potential, a true lifesaver during the busy holiday season. Preparing components in advance allows you to enjoy the festivities without last-minute kitchen chaos.
- Refrigeration: Once assembled and set, these tarts can be stored in an airtight container in the refrigerator for up to three days. This means you can bake, fill, and chill them well before your guests arrive.
- Freezing: For longer storage, these tarts freeze beautifully. Wrap individual tarts tightly in plastic wrap, then place them in a freezer-safe container or freezer bag. They can be frozen for up to one month. Thaw them overnight in the refrigerator before serving. *Pro tip: It's best to freeze them undecorated and add any delicate garnishes (like fresh berries or whipped cream) just before serving, as some decorations may not hold up well to freezing and thawing.*
Having a batch of these exquisite mini tarts ready to go in the fridge or freezer means you're always prepared for unexpected guests or spontaneous dessert cravings.
A Sweet Conclusion to Your Holiday Festivities
These easy Christmas dessert tarts are more than just a recipe; they're an invitation to embrace the joy of holiday baking without the stress. Combining a simple, adaptable crust with a rich, velvety dark chocolate ganache, and crowned with festive decorations, they represent the perfect balance of elegance and ease. They are a wonderful way to involve the whole family, delight your guests, and add a truly decadent touch to your Christmas celebrations.
So, this holiday season, skip the complicated recipes and embrace the simplicity and deliciousness of these mini chocolate marvels. Gather your ingredients, invite your little helpers, and create a batch of these irresistible treats that are sure to become a beloved new tradition. Happy baking, and happy holidays!